(This page includes affiliate links. If you click and purchase, I receive a small commission at no extra cost from you and that way you can support me. I only recommend tools that I have personally used and loved.)

Reading Progress Bar / Circle For Full Page or Specific Post / Section – Elementor Tutorial
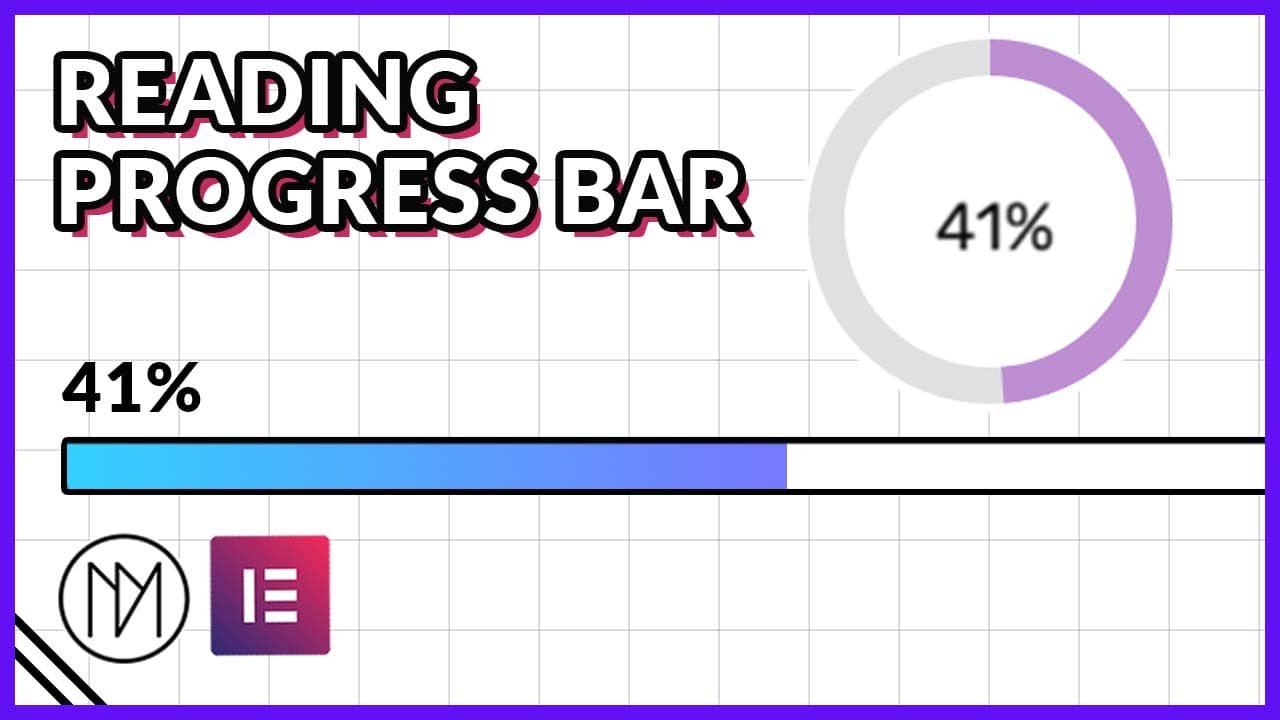
In this tutorial, we will be making progress bar or progress circle that shows how much page has been read. You can choose to have progress bar for full page or specific section like blog article. The radial progress bar can be used for full page or specific section.
The Progress Bar is a pro widget available in Elementor Pro. So, if you purchase Elementor Pro, you don’t have to make it from scratch.
0%
Version 1 – Reading Progress Bar for Full Page
- dm-reading-progress-1 is the CSS class of the spacer widget (or div if you’re coding from scratch).
- This progress bar shows progress of whole page.
<script>

  window.addEventListener('scroll', () => {
  const progressBar = document.querySelector('.dm-reading-progress-1');
  const scrollTop = window.scrollY;
  const docHeight = document.documentElement.scrollHeight - document.documentElement.clientHeight;
  let scrollPercentage = (scrollTop / docHeight) * 100;
 //scrollPercentage gives up values from 0 to 100, if you remove * 100, then it will give values from 0 to 1

  // Ensure scrollPercentage is not below 0
    scrollPercentage = Math.max(0, scrollPercentage);

    progressBar.style.width = `${scrollPercentage}%`;

  //Optional: Add Progress Circle 2nd Code here

});


</script>
Version 2 – Reading Progress Bar for specific section (Example: blog)
- dm-reading-progress-2 is the CSS class of the spacer widget (or div if you’re coding from scratch).
- dm-sticky-wrapper-2 dm-sticky-element is the CSS class of the container that contains spacer widget (or div if you’re coding from scratch).
- dm-progress-area is the CSS class of the container that should be used to show progress for. (example: blog)
					<style>
    .dm-sticky-element {
        position: sticky !important;
        top: 0;
    }
</style>

<script>

document.addEventListener("DOMContentLoaded", () => {

  window.addEventListener('scroll', () => {
  const progressBar = document.querySelector('.dm-reading-progress-2');
  const dmProgressArea = document.querySelector('.dm-progress-area');

  // Get the scroll position relative to the .blog-post section
  const scrollTop = window.scrollY - dmProgressArea.offsetTop;
  const sectionHeight = dmProgressArea.offsetHeight;
  let scrollPercentage = Math.min((scrollTop / sectionHeight) * 100, 100);

   scrollPercentage = Math.max(0, scrollPercentage);

  progressBar.style.width = `${scrollPercentage}%`;


  //Optional: Add Progress Circle 2nd Code here

});

});


</script>
Version 3 – Circle Reading Progress Bar with Counter (use with version 1 or version 2)
- dm-reading-progress-circle is the CSS class of the container that should have the progress circle. Optional:I have given it’s width to be min(200px, 30%);.
- dm-reading-progress-number is the CSS class of the heading widget that should show progress counter.
- Add the 2nd code in appropriate location in version 1 or version 2 code above. (Please refer video to understand it better)
					<script src="https://cdnjs.cloudflare.com/ajax/libs/progressbar.js/0.6.1/progressbar.min.js" integrity="sha512-7IoDEsIJGxz/gNyJY/0LRtS45wDSvPFXGPuC7Fo4YueWMNOmWKMAllEqo2Im3pgOjeEwsOoieyliRgdkZnY0ow==" crossorigin="anonymous" referrerpolicy="no-referrer"></script>


<style>

    .dm-reading-progress-circle {

        aspect-ratio: 1;

    }


</style>

<script>

       var dmProgressCircle =
    new ProgressBar.Circle('.dm-reading-progress-circle', {
      color: 'rgba(189, 142, 210, 1)', //progressbar color
      trailColor: '#0000001F', //progress bar bg color
      easing: 'linear',
      duration: 0,
      strokeWidth: 2,
    //  svgStyle: { strokeLinecap: 'round' }

    });

</script>
					 //ProgressCircle Animation
    const dmProgressNumber = document.querySelector('.dm-reading-progress-number .elementor-heading-title');

    dmProgressNumber.textContent = `${Math.floor(scrollPercentage)}%`;

      dmProgressCircle.animate(scrollPercentage / 100);
Extra – Dynamic Position Fixed Code (Watch above video for better understanding)
- Sometimes, you might not want to have position fixed by default and only would want it to stick to top of the page when you have scrolled till the progress bar. This works differently than position sticky as with position sticky, the progress bar would not go outside it’s parent container. But using dynamic approach to add position fixed allows the sticky effect to work outside the parent container.
- dm-fixed is the CSS class that we add to our dm-sticky-element div when it reaches on top of view.
- dm-sticky-element is the CSS class of element that needs to be sticky.
- dm-sticky-wrapper is the parent container of our element, dm-sticky-wrapper acts a checkpoint or marker to add/remove dm-fixed CSS class. Make sure to make it have no size (gap 0, padding 0, height 0), so that it does not take any place and just acts as a marker.
Note: This code needs to be used with version 1 code above.
					<style>
    .dm-fixed {

        position: fixed !important;
        top: 0;
        left: 0;
    }

</style>

<script>
document.addEventListener('DOMContentLoaded', function() {
    const stickyElement = document.querySelector('.dm-sticky-element');
    const dmStickyWrapper = document.querySelector('.dm-sticky-wrapper');

    // Track the previous scroll position
    let lastScrollPosition = 0;

    // Observer to detect when the sticky wrapper enters or exits the viewport
    let observer = new IntersectionObserver(function(entries) {
        entries.forEach(function(entry) {
            const currentScrollPosition = window.scrollY;

            if (entry.boundingClientRect.top <= 0 && currentScrollPosition > lastScrollPosition) {
                // Add 'dm-fixed' when scrolling down and element reaches top of viewport
                stickyElement.classList.add('dm-fixed');
            } else if (currentScrollPosition < lastScrollPosition || entry.isIntersecting) {
                // Remove 'dm-fixed' when scrolling up or the wrapper re-enters the viewport
                stickyElement.classList.remove('dm-fixed');
            }

            // Update last scroll position
            lastScrollPosition = currentScrollPosition;
        });
    }, { threshold: [0] });

    observer.observe(dmStickyWrapper);
});
</script>