(This page includes affiliate links. If you click and purchase, I receive a small commission at no extra cost from you and that way you can support me. I only recommend tools that I have personally used and loved.)
Required for Lottie and Global Code –
1 – Elementor Pro
OR
If you’re using free version, Install a Lottie Plugin so that it allows uploading of json file & Install WPcode snippet plugin to insert the code globally.
Recommended to get Elementor Pro as it removes the need to install 2 extra plugins.

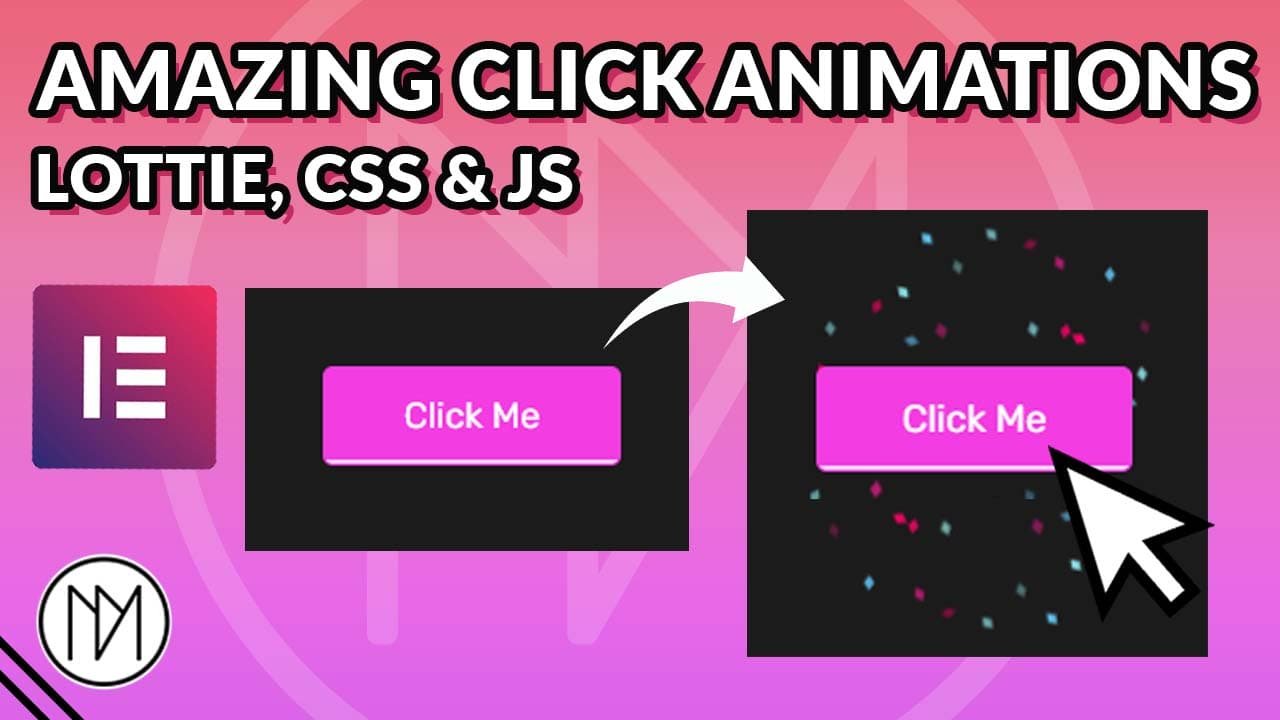
CSS and JAVASCRIPT (JS) code to run Lottie Animation on Button/Element Click
- You can remove .sparkleElement {cursor:pointer;} to remove mouse changing to hand icon when hovered on interactable elements.
- Add you CSS customization in .sparkleAnimation, including height and width for custom size of Lottie animation.
- The z-index is set to 1 for the Lottie, so make sure your containers have higher z-index if you wish to place the animation behind.
- #ADDLOTTIEURL : Replace this to your Lottie path URL.
- Give CSS class “sparkleElement” to elements that should have Lottie Animation on click.
					<style>

    .sparkleElement {
      cursor: pointer;
    }

    .sparkleAnimation {
      position: absolute;
     /* background: blue;*/
      height: 200px; /*Height of Lottie Container*/
      width: 200px; /*Width of Lottie Container*/
      z-index: 1;
      pointer-events: none;

    }


</style>

<script src="https://cdnjs.cloudflare.com/ajax/libs/bodymovin/5.7.6/lottie.min.js"></script>
<script>
    // Function to handle click event
    function handleClick(event) {
        const target = event.target;
        const rect = target.getBoundingClientRect();

        // Create a new animation container for each click
        const lottieAnimContainer = document.createElement('div');
        lottieAnimContainer.className = 'sparkleAnimation';
        document.body.appendChild(lottieAnimContainer);

        // Calculate top and left positions for centering the animation container within the clicked .sparkleElement
        const containerWidth = lottieAnimContainer.offsetWidth;
        const containerHeight = lottieAnimContainer.offsetHeight;
        const left = rect.left + window.scrollX + (rect.width - containerWidth) / 2;
        const top = rect.top + window.scrollY + (rect.height - containerHeight) / 2;

        // Set animation container position
        lottieAnimContainer.style.top = top + 'px';
        lottieAnimContainer.style.left = left + 'px';

        const animationInstance = lottie.loadAnimation({
            container: lottieAnimContainer,
            renderer: 'svg',
            loop: false,
            autoplay: true,
            path: '#ADDLOTTIEURL', // Replace this with the path to your Lottie animation JSON file
            rendererSettings: {
                preserveAspectRatio: 'xMidYMid slice'
            }
        });

        // Remove animation container after it finishes
        animationInstance.addEventListener('complete', function() {
            animationInstance.destroy();
            lottieAnimContainer.remove();
        });
    }

    // Function to attach click event listener to all elements with class "sparkleElement"
    function attachClickEventListeners() {
        const sparkleElements = document.querySelectorAll('.sparkleElement');
        sparkleElements.forEach(element => {
            element.addEventListener('click', handleClick);
        });
    }

    // Run the function to attach click event listeners after the page is fully loaded
    document.addEventListener('DOMContentLoaded', function() {
        attachClickEventListeners();
    });
</script>