(This page includes affiliate links. If you click and purchase, I receive a small commission at no extra cost from you and that way you can support me. I only recommend tools that I have personally used and loved.)
Table of Contents
1. Get Domain & Hosting
Domain is basically the name of the your website that allows internet to connect to the right content of your website.
Example : mywebsite.com
Hosting: Hosting is a server that is available 24/7 to make sure anyone can access your website anytime. The hosting stores your website content so that when a user visits your domain, the domain points to the servers and loads the appropriate files to display your website.
It is very important to get a good hosting.
Alongside website content, a good hosting provides faster speed, blocks hackers, blocks malware, provides 99.9% uptime, frequent backups, quality support, easy navigation for website settings and provides maintenance.
Getting a bad hosting would lead to losing customers and overall provide bad experience for your brand.
Hostinger is my preferred hosting as of now, it is affordable and provides free domain for first year and comes with high quality benefits like malware protection, 99.9% uptime, weekly/daily backups, Free SSL.
This website is also hosted on hostinger.
2. Nameservers
If you brought hosting and domain from same website than you can usually skip this step. Nameserver basically allows domain to point to the right hosting. For example: if you brought domain from Godaddy and your Hosting is at Hostinger then you will need to add the nameservers of Hostinger in your domain DNS in Godaddy. It’s a very simple process with just 2 nameserver texts being copy pasted.
Reminder: After adding nameservers, it can takes around 48 hrs for the domain to propogate and your website to show. But usually it happens under 24 hrs and sometimes even instantly. A tip would be to use a VPN and change your location to the server location of your website and check if DNS is propogated. In hostinger, you get option to choose your server location.

3. Install WordPress
Each hosting has different setup for installing wordpress. Majority of them use Cpanel or their own version of it. For example: Hostinger has created their own panel called hpanel.
The setup process is usually straight forward and doesn’t take more than 5 minutes to understand.
4. Login to your WordPress admin via /wp-admin
To login into your website, just type your domain url followed by /wp-admin. For example: if your website domain is “mywebsite.com” then your admin login url will be “mywebsite.com/wp-admin”
Check Bonus Tip section below to see how you can change /wp-admin to something else to protect your website from hackers.

4. Initial Steps in WordPress
Everytime you create a new wordpress installation. You should do the following steps :
1. Create 2 new pages, one is Home and other one is Blog. You don’t need to do blog if you’re not planning to add blog to your website.
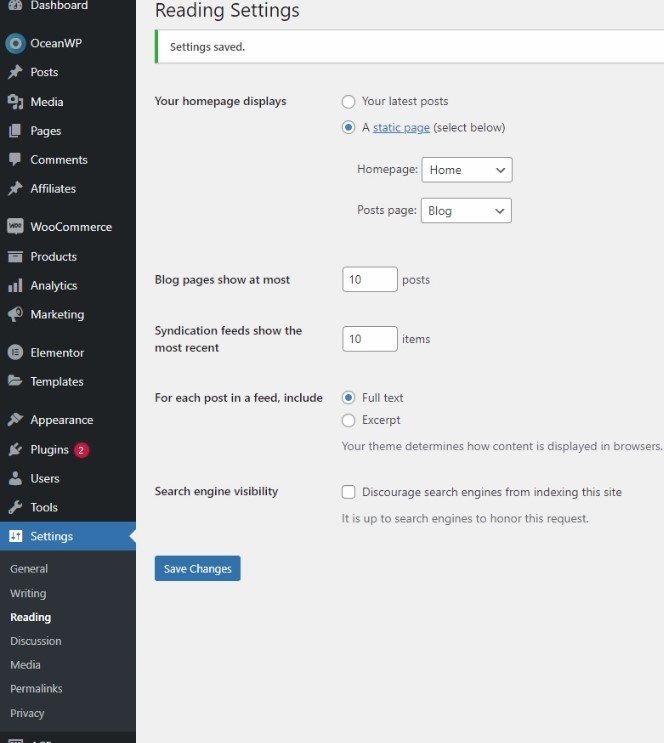
2. Go into wordpress dashboard —> Settings —> Reading
3. Change from “Your Latest Post” to “A static Page”.
4. Now from the dropdown, choose which page is your homepage and which is your blog page. (The blog option might not be available depending on the theme used)
The above steps make sure that your website loads the Homepage when someone visits your website. If you don’t do this step, it will show your blog posts in list view.
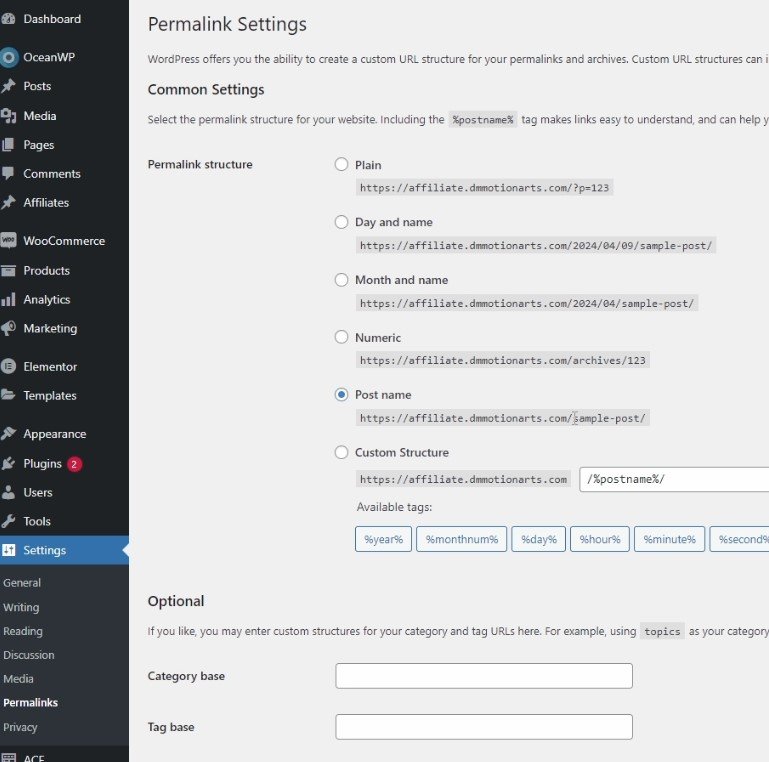
5. Go to settings —> Permalinks —> Choose “Post Name”. (This ensures that your url has page name instead of page number, example: instead of showing mywebsite.com/?p-123 it will show mywebsite.com/portfolio)
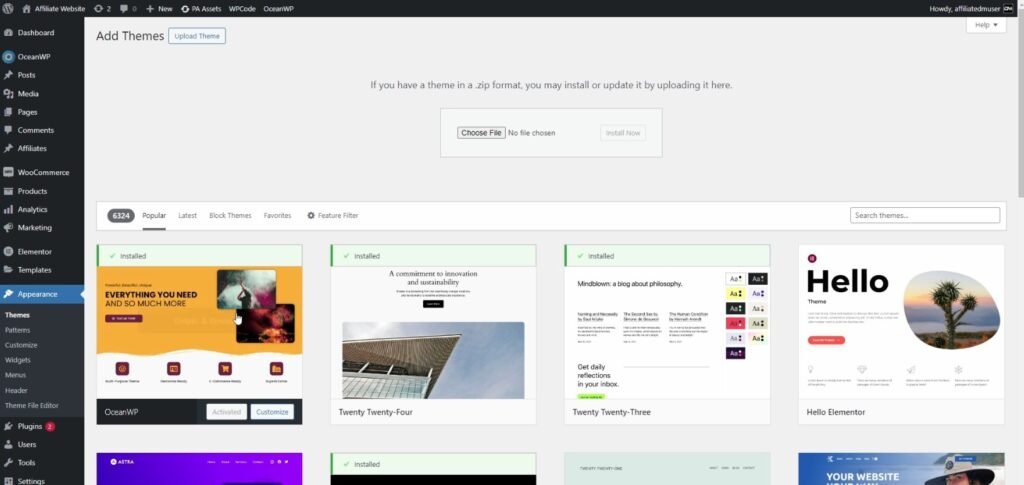
5. Install your desired Theme
Install a theme from wordpress appearance menu. Themes are core part of wordpress as it allows you to change the boring wordpress look to a professional website. Each theme has their own uniqueness and also limitations.
Some themes are made to be multipurpose that allow you to create any look or website. Some themes are created with specific purpose, example: car rental theme, book shop theme.
As my recommendation keeps changing as new theme pop up or old themes updates. I ask you check the below link that showcases my recommendations as it allows to me keep changing the page as world of theme evolves.
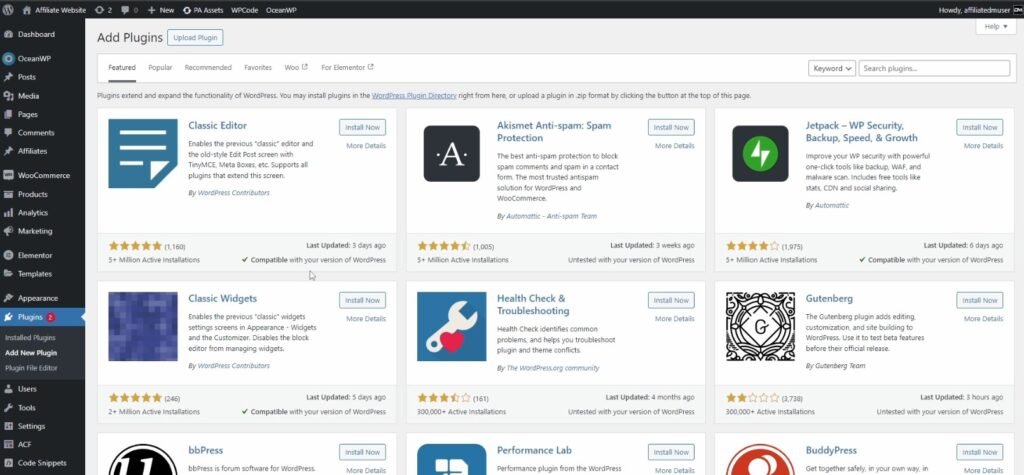
6. Install your desired plugins
Plugins basically extend the wordpress functionalities further and can be chosen based on your requirements. Check my recommended tools link above to see plugins that I commonly use.
7. Install Page Builder Plugin
Page builder plugins are drag and drop builders that replaces wordpress block editor with their own. This is optional but in majority of the cases, you will need a page builder as wordpress block editor is very limited.
There are lots of page builder plugins that provide almost same functionalities but each have few uniqueness to it.
For page builder, I recommend getting Elementor Page builder. It has both free and paid version. Even though you can make professional websites with free version, I recommend getting Elementor Pro for less limitations.
Even this website is made with Elementor Page Builder.
8. SMTP setup
When you get a hosting, majority of them comes with email services (This allows you to get custom emails like bobby@mywebsite.com). By default, your wordpress might not be able to communicate with it and send emails to you. This would mean that you would not receive contact form messages or order messages from woocommerce.
So install any SMTP plugin and do the respective steps. As different hosting have different email services, the steps would be a bit different.
9. Security Setup
As wordpress is open source and contributes to a large percetange of websites on internet, it is also in constant threat of getting hacked by hackers. A good hosting would block this from happening but it is good to do following steps to ensure further security.
1. I recommend installing Wordfence security or All in one WP security(AIOS) plugin.
2. This plugins come with option to have login retries, you can set that if someone types wrong password 3 times, lockout the user.
3. You can change /wp-admin to custom url.
4. Don’t use “admin” as username and have strong password.
5. Automatically block this usernames via AIOS – admin, user, test, “websitename”, administrator, guest, manager . (Make sure you don’t use this username yourself else it can lock you out)
10. Ecommerce Plugin
The most common plugin for ecommerce is Woocommerce, so simply install the free woocommerce plugin and it allows you start selling both physical or digital products.
Also install payment plugins like paypal, stripe or any other that you want to use for woocommerce.