(This page includes affiliate links. If you click and purchase, I receive a small commission at no extra cost from you and that way you can support me. I only recommend tools that I have personally used and loved.)
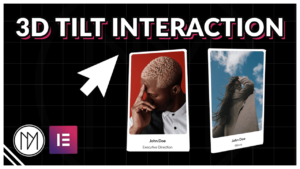
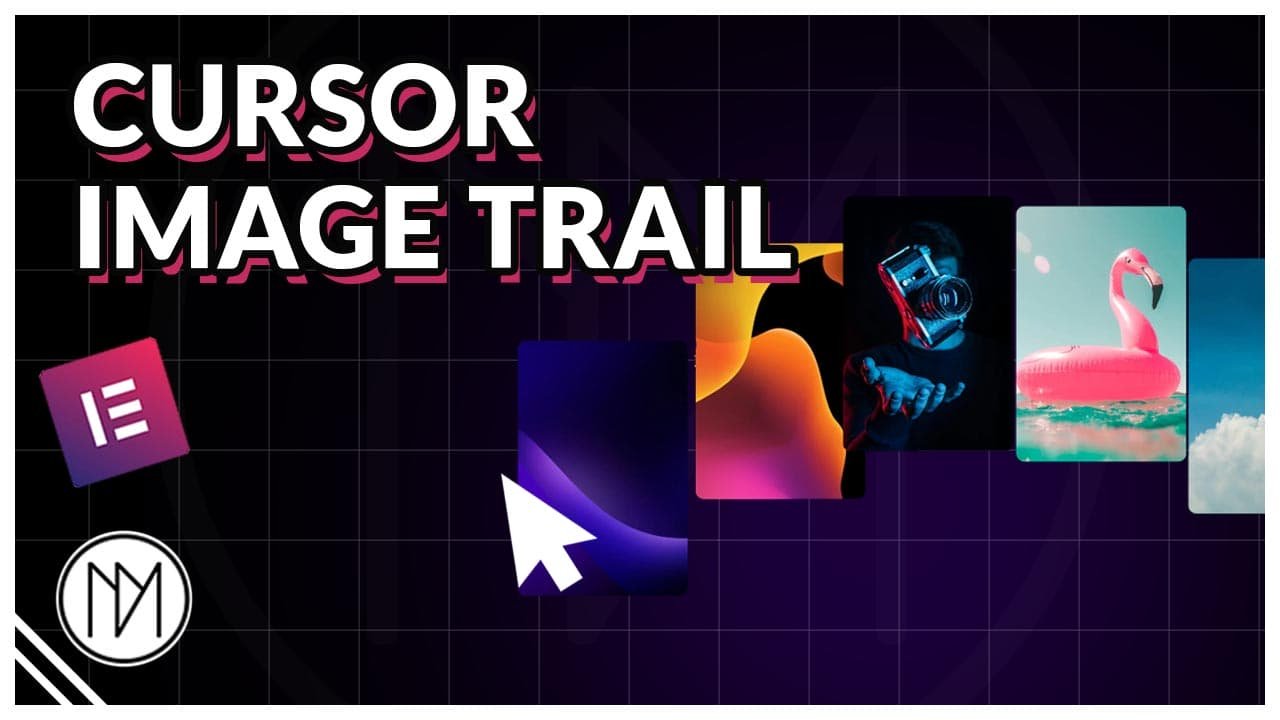
Introduction – Making Image Trail that follows our mouse / cursor with Elementor & GSAP
In this tutorial, we will learn to make a trail that can be any number of images (or any other widget) that follows our cursor. Please watch the video to learn about customization and different versions that you can make.
DMmotionarts - Watch video for different version options


Full Code for trail (CSS, JS, GSAP)
- dm-img-trail is the CSS class of the images (or any other widget) that needs to follow.
- dm-img-trail-wrapper is the CSS class of the parent container of dm-img-trail. This is only required if you want the images to hide outside this container and only show if inside this container. (Please watch video with code changes required if you don’t want show/hide effect for trail)
- transition controls the Fade in and Fade out effect when entering and exiting the wrapper.
- You can change the transform:translate to your desired percentage. Making this -50%,-50% would make the image follow from center of cursor.
- stagger at line 45 controls the delay of follow between each image. Higher value will make the images more apart, lower values will make the images be closer.
					<script src="https://cdnjs.cloudflare.com/ajax/libs/gsap/3.13.0/gsap.min.js" integrity="sha512-NcZdtrT77bJr4STcmsGAESr06BYGE8woZdSdEgqnpyqac7sugNO+Tr4bGwGF3MsnEkGKhU2KL2xh6Ec+BqsaHA==" crossorigin="anonymous" referrerpolicy="no-referrer"></script>

<style>


    /*Enter the wrapper*/
    .dm-img-trail-wrapper .dm-img-trail{

        transition: opacity 0.3s;
        opacity: 0;

    }

    /*Leave the wrapper*/
     .dm-img-trail-wrapper:hover .dm-img-trail{
        transition: opacity 0.3s;
        opacity: 1;

    }


    .dm-img-trail {

        position: fixed;
        left: 0;
        top:0;
        transform: translate(0% ,0%);
        pointer-events: none;
    }


</style>

<script>

const wrapper = document.querySelector(".dm-img-trail-wrapper");

//Remove if statement and turn "wrapper" text in eventlistener to document to make the effect work on whole website
if (wrapper) {
  wrapper.addEventListener("mousemove", e => {
    gsap.to(".dm-img-trail", {
      x: e.clientX,
      y: e.clientY,
      stagger: 0.1
    });
  });
}

</script>