(This page includes affiliate links. If you click and purchase, I receive a small commission at no extra cost from you and that way you can support me. I only recommend tools that I have personally used and loved.)
Get Elementor Pro Today –
1 – Elementor Pro

Animated Vertical Timeline with Elementor and GSAP FREE
With the below code, you can create modern animated vertical timeline that allows you to add custom content on left and right. You can also add your own icon/image for the center dot and change line gradient to your own liking. If you don’t like line gradient, you can simply use a solid color too. If you don’t wish the dot to follow, simple remove the .dm-timeline-point class and it will not be sticky.
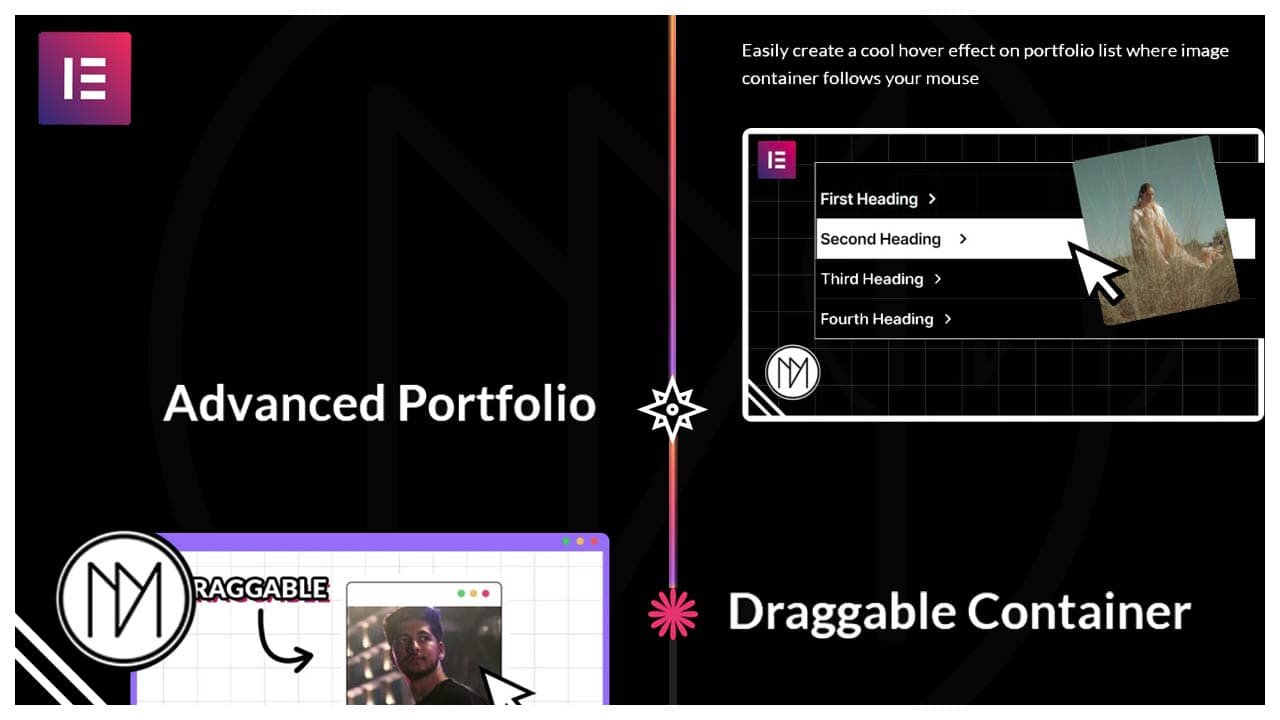
Advanced Portfolio

Easily create a cool hover effect on portfolio list where image container follows your mouse

Draggable Container

Trendy Image Accordion

Inverted Border Radius

Inverted Border radius might seem tough to make but no worries, I got 3 easy methods that you can use
- For the code to work, it requires certain layout that you can check in above video or simply download the template to test it out.
- .dm-timeline-point is the CSS class of the middle circle.
- .dm-timeline-left is the CSS class of the element that is sticky in left container. To have multiple elements have sticky effect, simply add all elements into a container and give this class to that container.
- .dm-progress-bar is the class of the gradient line, you can add your desired color here or keep a solid color too. Make sure in gradient color to have same first color and last color for seamless transition.
- .dm-bar-container is the CSS class of middle container. Make sure in CSS code for left: calc(50% – 10%/2);, the 10% should be same as the size of dm-bar-container. If your middle container is 20%, change 10% to 20% in the code.
- If you want the line to be on right for mobile devices, make sure to make left:auto and add right:0% to mobile settings(CSS) of dm-bar-container, we add left:auto to reset the left value as we have already added left value for desktop/tablet.
- Add script src if you haven’t already added GSAP to your website. Sometimes, themes/plugins can add GSAP, in that case script src is not required.
					<script src="https://cdnjs.cloudflare.com/ajax/libs/gsap/3.12.5/gsap.min.js"></script>
<script src="https://cdnjs.cloudflare.com/ajax/libs/gsap/3.12.5/ScrollTrigger.min.js"></script>
					<style>

    .dm-timeline-point {

        position:sticky;
        top:50vh;

    }

    .dm-timeline-left {

        position: sticky;
        top:50vh;

    }

    /*Change Line Background Color Here*/
    .dm-progress-bar {

        background: linear-gradient(0deg, rgba(255,167,76,1) 0%, rgba(177,108,234,1) 5%, rgba(228,99,149,1) 35%, rgba(254,118,95,1) 70%, rgba(255,167,76,1) 100%);
        height: 0%;

    }


    .dm-bar-container {

        position: absolute;
        left: calc(50% - 10%/2);
        top:0%;
        height: 100%;

    }

    /*Tablet settings for middle container*/
    @media(max-width:1024px) {


        .dm-bar-container {

        position: absolute;
        left: calc(50% - 10%/2);
        top:0%;
        height: 100%;

    }
    }


    /*Mobile settings for middle container*/
     @media(max-width:767px) {


        .dm-bar-container {

        position: absolute;
        left: 0%; /*Make left:auto and add right:0%; to make the line on right side*/
        top:0%;
        height: 100%;

    }
    }


</style>

<script>

    const dmProgressBars = document.querySelectorAll('.dm-progress-bar');
const dmTimelineBars = document.querySelectorAll('.dm-timeline-bar');

dmProgressBars.forEach((progressBar, index) => {
    const timelineBar = dmTimelineBars[index];
    if (timelineBar) {
        gsap.to(progressBar, {
            scrollTrigger: {
                trigger: timelineBar,
                scroller: 'body',
                start: 'top 50%',
                end: 'bottom 50%',
                scrub: true,
                markers: false
            },
            height: '100%',
            ease: 'none'
        });
    }
});

</script>